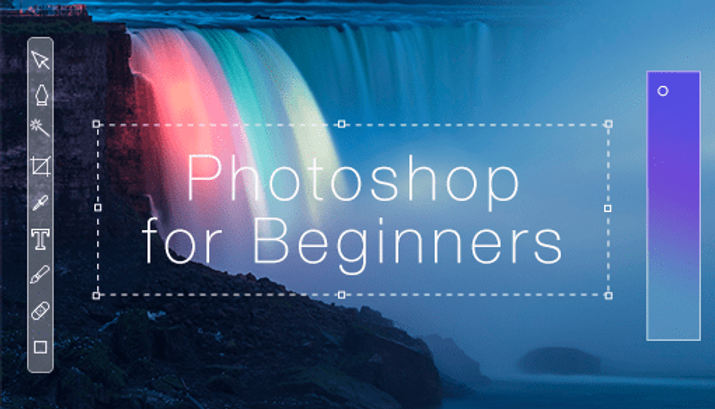
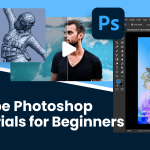
In the contemporary digital sphere, banners and headers serve as vital elements in seizing the online audience’s attention and effectively communicating essential messages. Whether for website design, blogging, social media platforms, or email newsletters, the creation of visually captivating banners and headers is paramount for forging a robust brand identity and captivating your audience. Adobe Photoshop offers an array of potent tools and features tailored to assist beginners in crafting striking banners and headers imbued with professional finesse. Within this introductory guide, we’ll delve into the process of creating compelling banners and headers in Photoshop, empowering you to channel your creativity and leave a memorable mark in the online realm.
Understanding Dimensions and Formats – Before diving into design, it’s crucial to establish your canvas size. Familiarize yourself with the intended display platform for your banner or header, whether it’s a website, social media platform, or elsewhere, and research the specific size requirements. Avoid the disappointment of having your masterpiece cropped by ensuring it fits perfectly. Common dimensions include 1920×1080 pixels for website banners and 1584×396 pixels for Facebook headers.
Color Magic and Background Bliss – Select a background color that harmonizes with your brand identity or content theme. Utilize the paint bucket tool for a uniform fill, or venture into gradients for a more dynamic effect. If opting for an image background, import it and adjust the size to suit your canvas dimensions. Bear in mind that high resolution is essential for maintaining crisp visuals.
Text Time! – Employ the text tool to incorporate your message. Opt for a font that resonates with your brand identity and ensures readability. Experiment with text size, color, and layer styles to impart a more striking appearance. Here’s a pro tip: employ a contrasting color for your text to guarantee it catches the eye against the background.
Image Power! – Integrate captivating images to captivate your audience. Utilize Photoshop’s selection tools to extract specific sections of images or explore online repositories for royalty-free options. Tailor their size, position, and opacity to seamlessly blend them into your design.
Shapes for Flair – Shapes can infuse depth and intrigue into your design. Employ the shape tools to craft geometric elements such as circles or rectangles, or delve into custom shapes for a distinctive flair. Fine-tune their color, fill, and stroke to harmonize with your overall design aesthetic.
Filters and Effects (Optional)– Ready to explore new territories? Dive into filters and effects within the Filter menu to introduce subtle textures or evoke a vintage ambiance. Keep in mind, moderation is key; use these features sparingly to prevent overwhelming your audience, as less often proves to be more impactful.
Save and Export Like a Pro! – Save your creation! For web-based visuals, navigate to File > Export > Save for Web (Legacy). Choose the suitable format, typically JPEG for photographs and PNG for graphics. Tweak the quality settings to strike a balance between file size and image clarity.
Conclusion
Crafting banners and headers in Photoshop need not be daunting, particularly for novices. By adhering to this beginner’s guide and exploring the myriad tools and features within Photoshop, you can produce captivating banners and headers that enthrall your audience and enhance your online presence. Thus, liberate your creativity, design with assurance, and leave a lasting imprint with your digital banners and headers.

Leave a Reply
You must be logged in to post a comment.